Step 1: Generate the G-Code from your DXF files
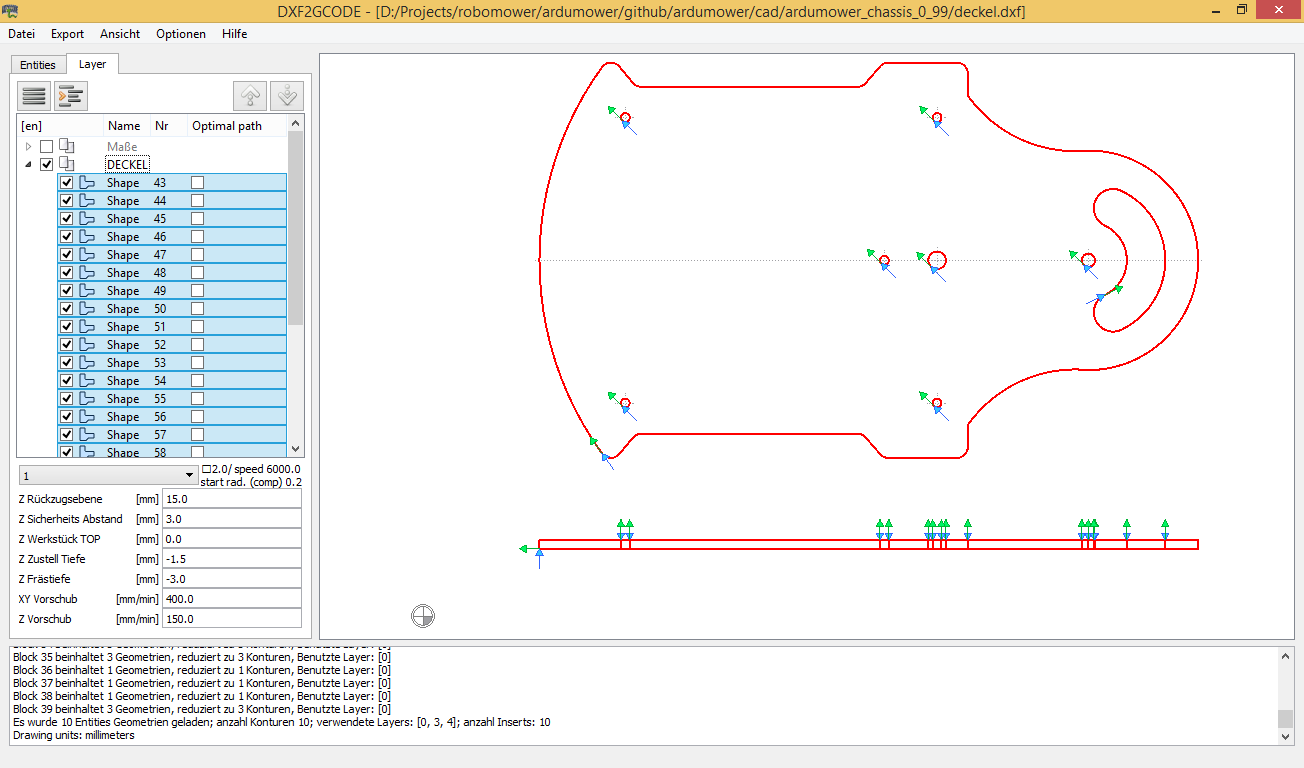
- Download and extract DXF2GCODE. Within this app, open your DXF file
- Select/deselect all layers in the left layer window (Layer)
- Alternatively, in the shown image, click on the shapes (outlines, holes etc.) you want to include in your G-Code
- Choose milling depth, milling speed etc. and optionally, move origin-point (0,0)
- Export pathes to G-Code
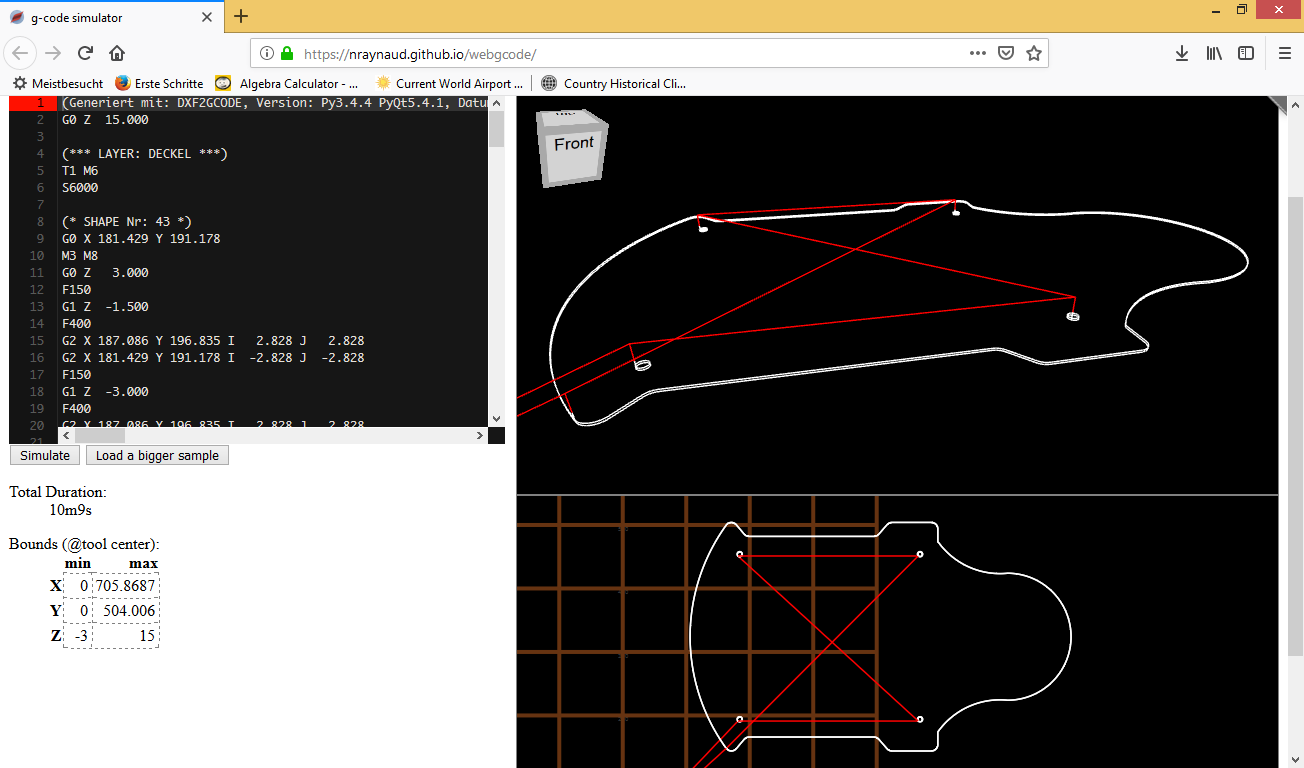
Step 2: Load the generated G-Code into a simulator
Before running the G-Code on your CNC milling machine, let’s try it out in a simulator.
- You can open the generated G-Code in a plain text editor (Notepad etc.)
- Copy & paste the generated G-Code into a G-Code simulator. The red lines show the CNC machine tool movements within the air
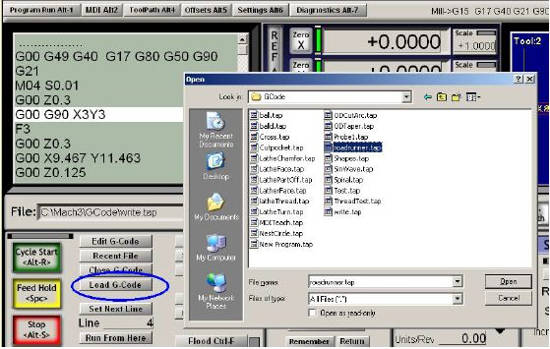
Step 3: Load the generated G-Code into your CNC milling software
Open the G-code with your CNC milling machine software (e.g. Mach3)